Home

Blog
Installing deck tiles is an important consideration before purchasing and applying them to your outdoor space. Key factors include the tools required for installation, whether professional skills are needed, the complexity of the procedure, ease of replacement, and simplicity of cleaning. Addressing these can help ensure a smooth and satisfying project. This article focuses on wood-plastic composite (WPC) deck tiles from LvsenWood, a leading manufacturer in China. We'll cover their features, benefits, specific installation steps, and key precautions to take.
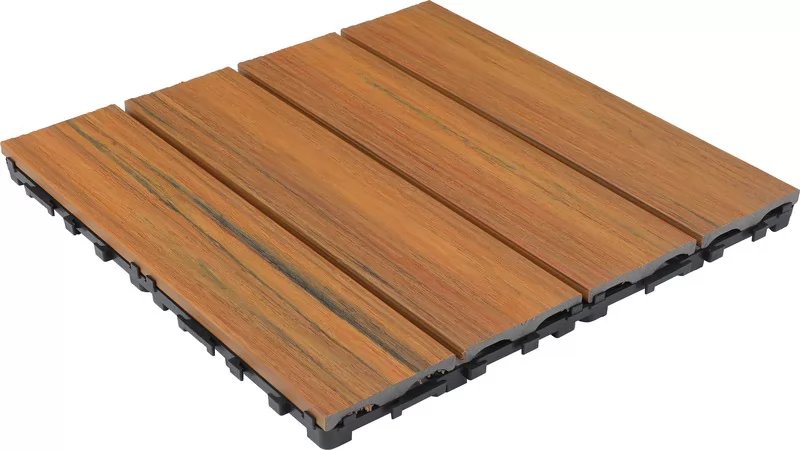
WPC deck tiles, short for wood-plastic composite deck tiles, are crafted from the same raw materials as traditional wood decking but with enhanced properties. They combine recycled wood fibers (up to 60% natural wood fiber in the core for a solid wood-like feel) and recycled plastics, making them fully recyclable and eco-friendly. This blend provides the durability of plastic alongside the natural texture and appearance of wood, ideal for outdoor applications.
LvsenWood, established in 2006 as a national high-tech private enterprise in China, specializes in high-quality WPC products with an annual production capacity exceeding 50,000 tons. Their deck tiles are engineered for superior performance, even in extreme weather conditions. Features include waterproofing (Class A rating), anti-corrosion, insect resistance, and enhanced weather resistance thanks to advanced materials like BASF UK235 anti-aging additives from Germany. The tiles also incorporate nano-grade natural wood fibers co-developed with the National Polymer Laboratory of Sichuan University, achieving ENF-level environmental protection standards and holding multiple patents.
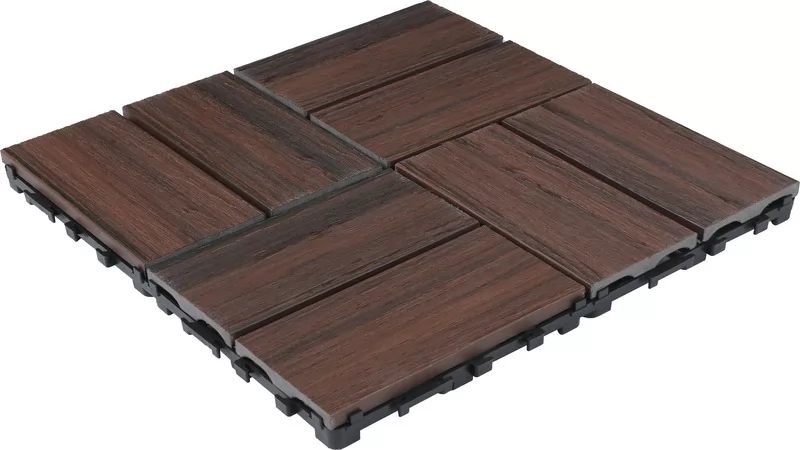
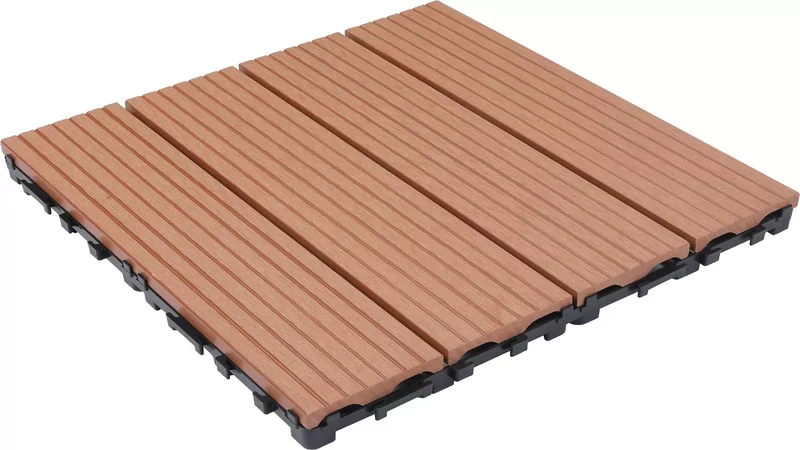
LvsenWood offers several types of DIY composite deck tiles to suit various needs:
These surfaces can be sanded, steel-brushed, embossed, or co-extruded, available in over 33 colors, including exclusive G-color and S-color options. With a soft, comfortable feel and customizable embossing patterns, they elevate any outdoor space.
Compared to traditional wood tiles, LvsenWood's WPC deck tiles excel in weather resistance, avoiding issues like expansion, contraction, moisture-induced slipping, mold growth, or insect infestations. The surface gaps and groove designs promote water drainage and prevent slips, while the natural wood grain adds visual appeal. For added protection, co-extrusion models include a 360° comprehensive coating with a thickened protective layer, ensuring longevity and low maintenance—just a simple rinse with water or mild soap is needed for cleaning.
The interlocking design further boosts their appeal, allowing for quick DIY installation without specialized tools. This makes them perfect for temporary setups like outdoor exhibitions, weddings, or seasonal patios. Disassembly is equally straightforward, enabling easy replacement of individual tiles without damaging the overall structure.
LvsenWood's interlocking WPC deck tiles are designed for user-friendly installation on clean, hard, flat surfaces like concrete, existing decks, or patios. No professional installers are typically required, but following these steps ensures a professional finish. The process is straightforward, with tiles snapping together via built-in clips or screws for secure assembly.
Sweep and clean the ground thoroughly to remove debris, ensuring it's level, hard, and dry. Address any uneven areas to prevent wobbling or instability.
While no special installation tools are needed for basic assembly, prepare the following for a precise job:
If obstacles like posts or edges require custom fits, cutting may be necessary. LvsenWood tiles are easy to cut with standard woodworking tools.
Measure the outdoor area accurately, then calculate the number of tiles needed based on their size (common dimensions: 300x300mm or 600x300mm, 11mm thick). Factor in a 5-10% extra for cuts and spares. Sketch a layout to minimize waste and ensure symmetry.
Lay a few tiles near doors, gates, or fixtures first. Open and close them to confirm no obstructions, adjusting as needed for smooth operation.
Start from a corner or edge to avoid repositioning later. Place the first tile, then align the second with the interlocking buckles or clips and press down firmly to connect. Repeat this process row by row, ensuring tight fits. For added stability, some models include pre-drilled screw holes for automatic assembly.
If a tile needs removal, secure one side and lift the adjacent edge gently—no tools required. This won't damage the tiles, making replacements quick and hassle-free. Keep surplus tiles for future needs.
For irregular shapes or obstacles, use paperboard to trace the outline. Mark the tile accordingly, cut with a saw (wearing safety gear), and install the fitted piece. LvsenWood offers complete accessories like edge corners (e.g., 370x75mm tile end corners) for clean finishes.
Continue until the area is covered. Walk over the surface to check for stability, making adjustments if needed. Your new, beautiful courtyard, balcony, or garden is ready!
Post-installation, store extra tiles in a dry place. For cleaning, simply hose down or wipe with soapy water— no harsh chemicals needed. Regular inspections for wear will extend the lifespan.

If you're unsure about any aspect of installing deck tiles or need help selecting the right color, size, or type, contact LvsenWood for expert guidance. As a top WPC deck tiles manufacturer and supplier in China, LvsenWood provides high-tech, eco-friendly products at competitive wholesale prices, with OEM/ODM services available. Their products ship directly from the factory and have been exported to over 50 countries. Visit www.lvsengarden.com or reach out via their contact page for quotes, samples, or customization.